
I have a confession to make. I don’t like bar soap. It gets dirty and
takes a long time to use up, so I usually get fed up with it and throw
it in the trash.
Despite this, people seem to like to give me bar soap, which I feel
guilty not using. So I have been buying liquid hand soap at $3 a bottle
and putting the bar soap in a box with the intention of somehow finding a
use for it.
Then it occurred to me that I might be able to convert the bar soap
into liquid hand soap. Why didn’t I think of it before? I did some
research and found out that it is easy to do. All it takes is melting
the soap with water, adding a little vegetable glycerin, and voilà, you
have made liquid hand soap.

So I tried it and was thrilled to find that it works great! From one
bar of soap, I made close to 2 liters of hand soap, which will last a
long time. The only thing I purchased for this project was a $2 bottle
of glycerin at my local drug store:

Glycerin is made from plant oils and is commonly used in soaps,
shampoos, moisturizers, etc. Since bar soap already has glycerin in it, I
tried this experiment both ways, with and without the added glycerin. I
found that the below recipe worked fine without the glycerin, except
that the soap tended to clump and didn’t have as smooth a texture. It
made enough of a difference that I would recommend adding the glycerin,
but you can also try the recipe without it, if you wish.
How To Turn A Bar of Soap Into Liquid Hand Soap
Ingredients:
1 c soap flakes
10 c water
1 Tbs glycerin
Equipment:
Cheese grater
A large pot
Measuring cup and spoons
A spatula for stirring
A soap container with a hand pump
A container to hold excess soap
Funnel
Directions:
First, grate the soap. Get out your cheese grater, grab the soap, and
get grating. I found this to be surprisingly easy, although the soap
particles tend to float in the air as you grate. You can wear a mask to
avoid breathing it in. When you’re done, the soap flakes look like
grated Parmesan:

One bar of soap yielded a little over 1.5 cups of flakes. The recipe
only uses one cup of soap flakes, so I put the remaining soap in a jar
for later use.
In a large pot, combine 1 cup soap flakes, 10 cups water, and 1 Tbs
glycerin. Turn on medium-low heat and stir until the soap dissolves.
This happens fast, about a minute or two.
Let the soap cool completely, then pour into the containers using the funnel. That’s all there is to it!

As I mentioned, this recipe makes a lot of soap, about 6 bottles
worth. I put the excess in a large bottle and am storing it under the
sink. When I run out, I will simply pull out the big bottle and funnel
some more into the smaller bottle.
You can also use this soap as body wash. To make it smell nice, add a drop or two of essential oil to the mix.
As I mentioned, the only thing I bought for this experiment was the
glycerin. I reused the bottles and the soap was a gift. (Alternately, I
could have saved soap slivers and made the hand soap that way.)
In the end, I used about $.40 worth of glycerin to make the
equivalent of 6 bottles of hand soap. That’s a savings $17.60, well
worth the half hour of my time it took to make the soap.
 UPDATE: I tried this with Dove Sensitive Skin Soap too. If you want to turn a bar of DOVE soap into liquid soap, click here for the recipe.
ETA: The kind of soap you use may be a bit of a wild card, since every
soap will have different ingredients in it. I got the best results with a
bar of Yardley soap, which did not even need the glycerin to become
hand soap. In general, a higher quality soap will probably yield better
liquid hand soap.
Dove Sensitive Skin Beauty Bar seems to be more difficult to turn
into hand soap, which I would guess has something to do with the
“sensitive” formula.
ETA II: I’m happy so many of you are finding this recipe helpful. If
you are having trouble, such as thin or watery soap or “snot-like” (?)
soap, I encourage you to read through the comments. Lots of people have
reported back with their experiences with the recipe. It seems that
sometimes letting the soap sit to thicken in the pot or hacking it with a
hand blender to loosen it does the trick.
ETA III: For a solution on getting the soap to lather,
try a foaming soap dispenser.
 Can you tell what they’re made from? They were easy to do–even something the kiddos can help with! And, I love the pop of color we have outside now.
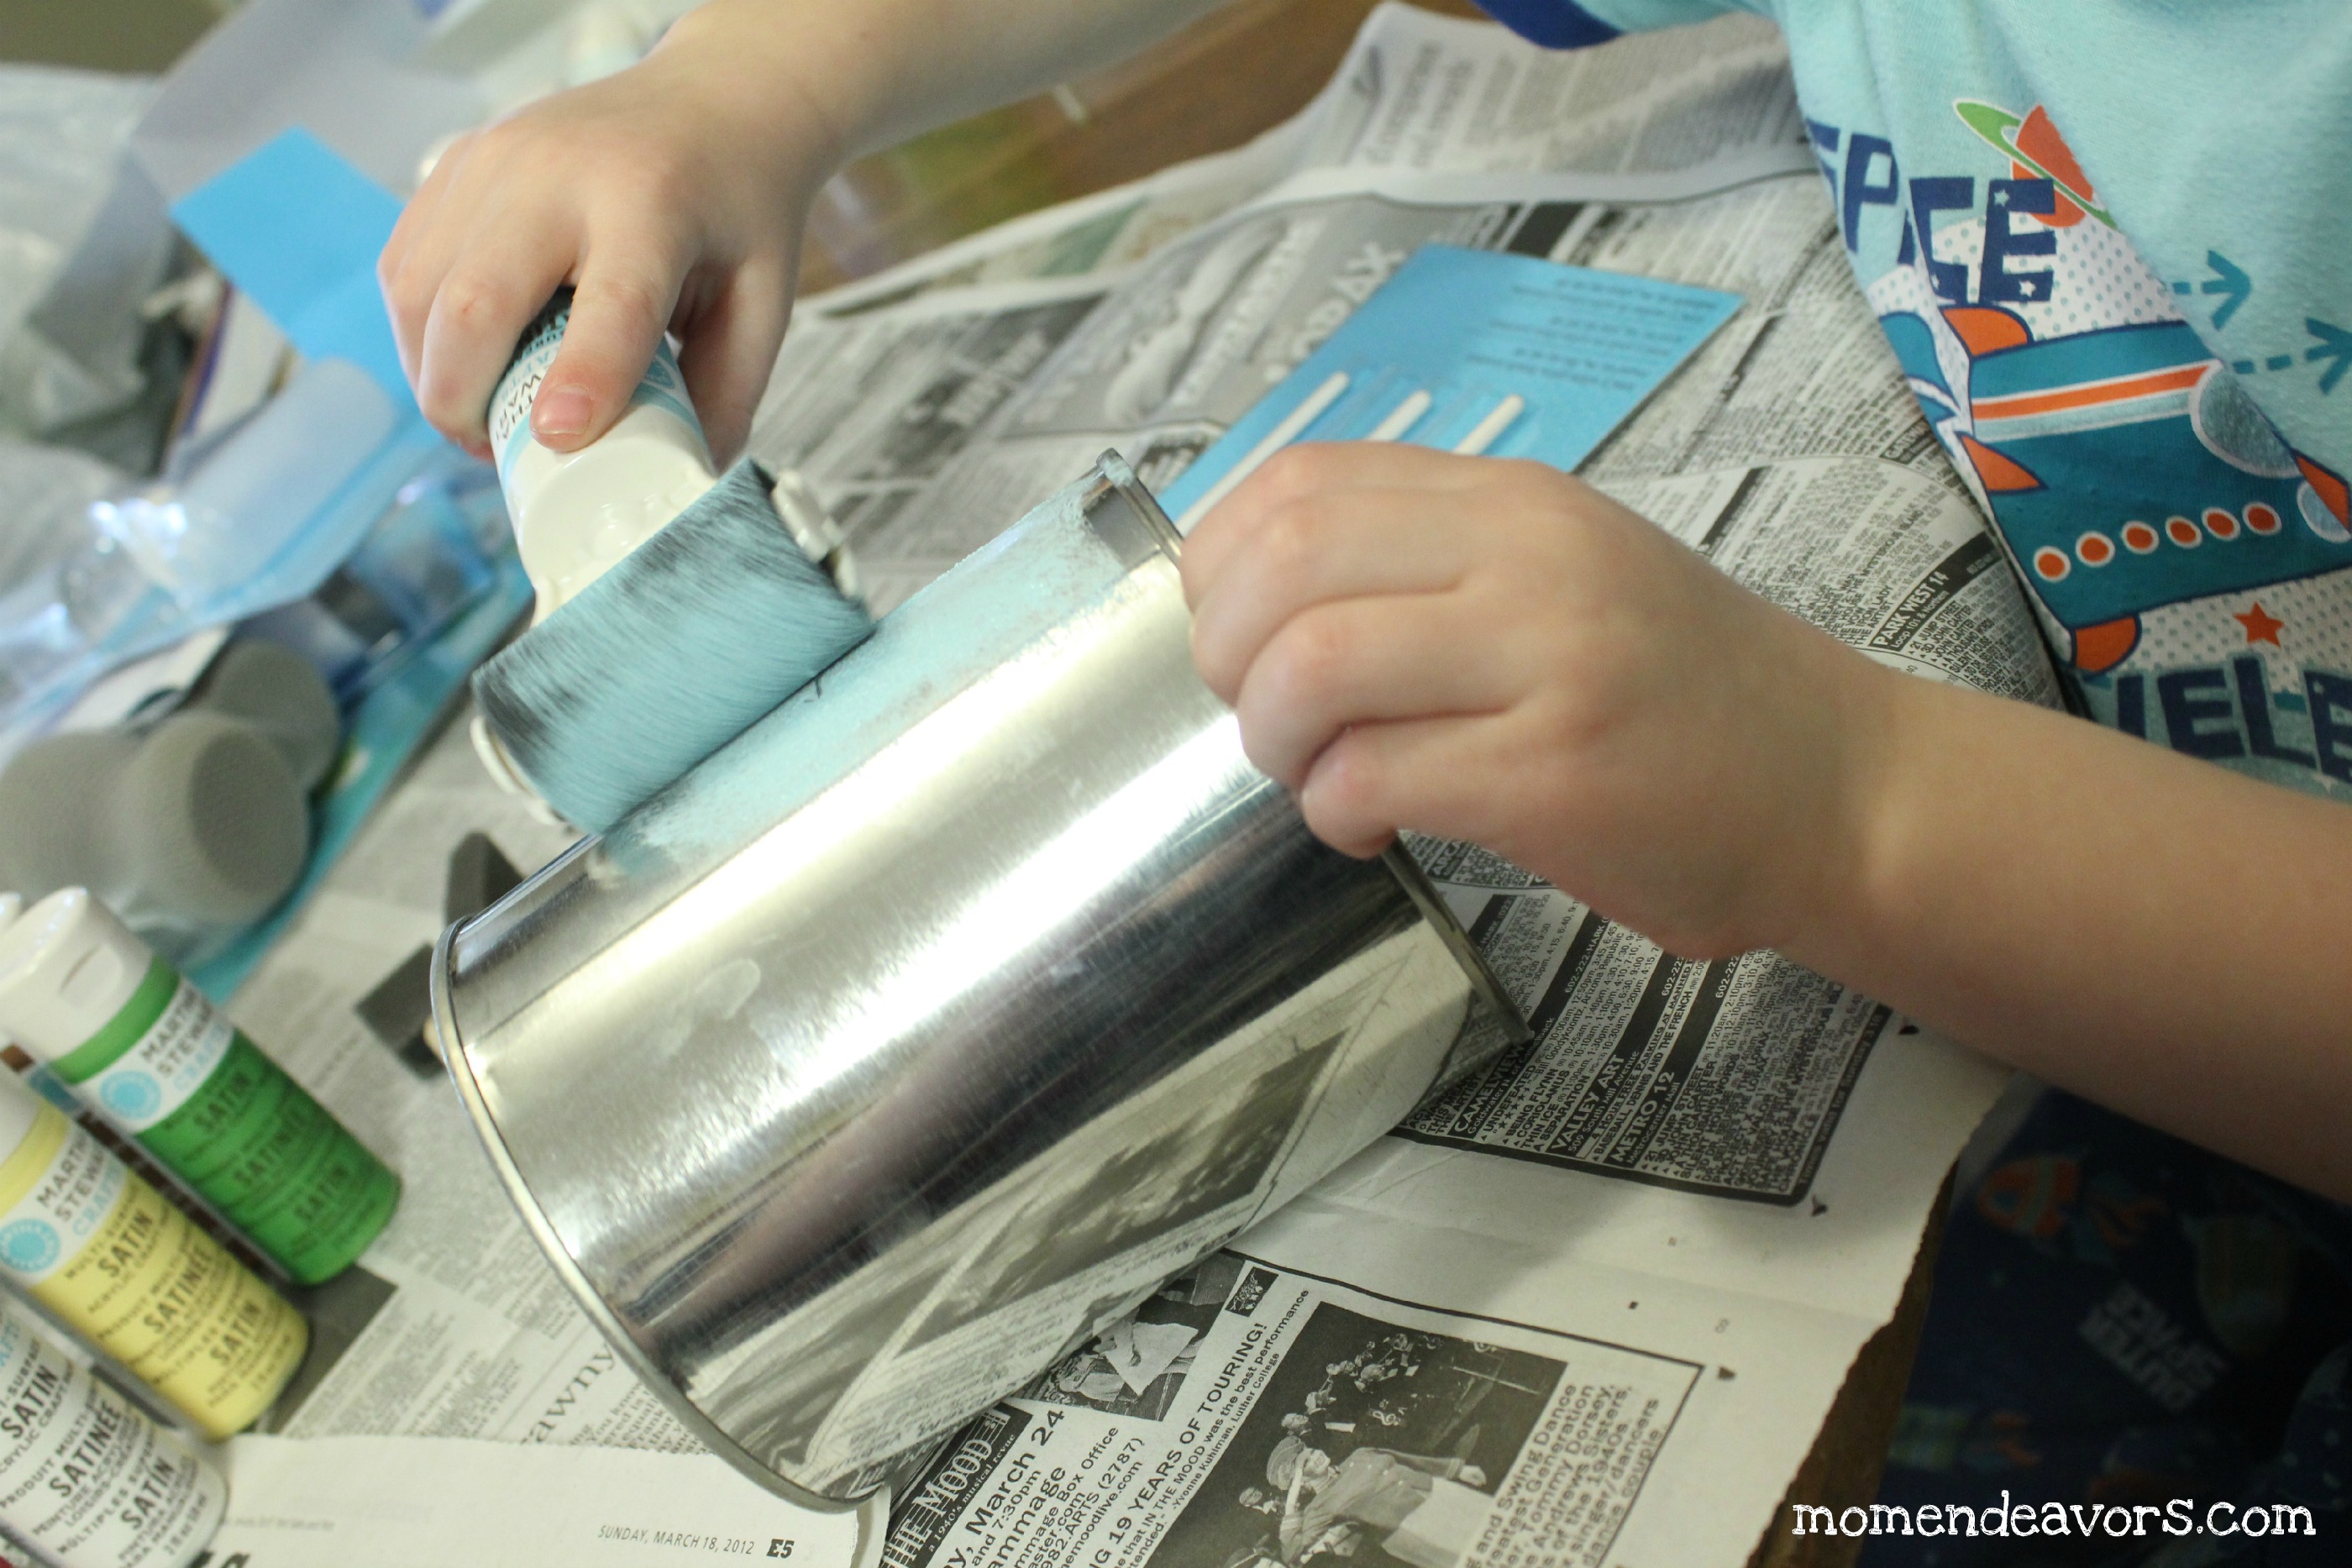
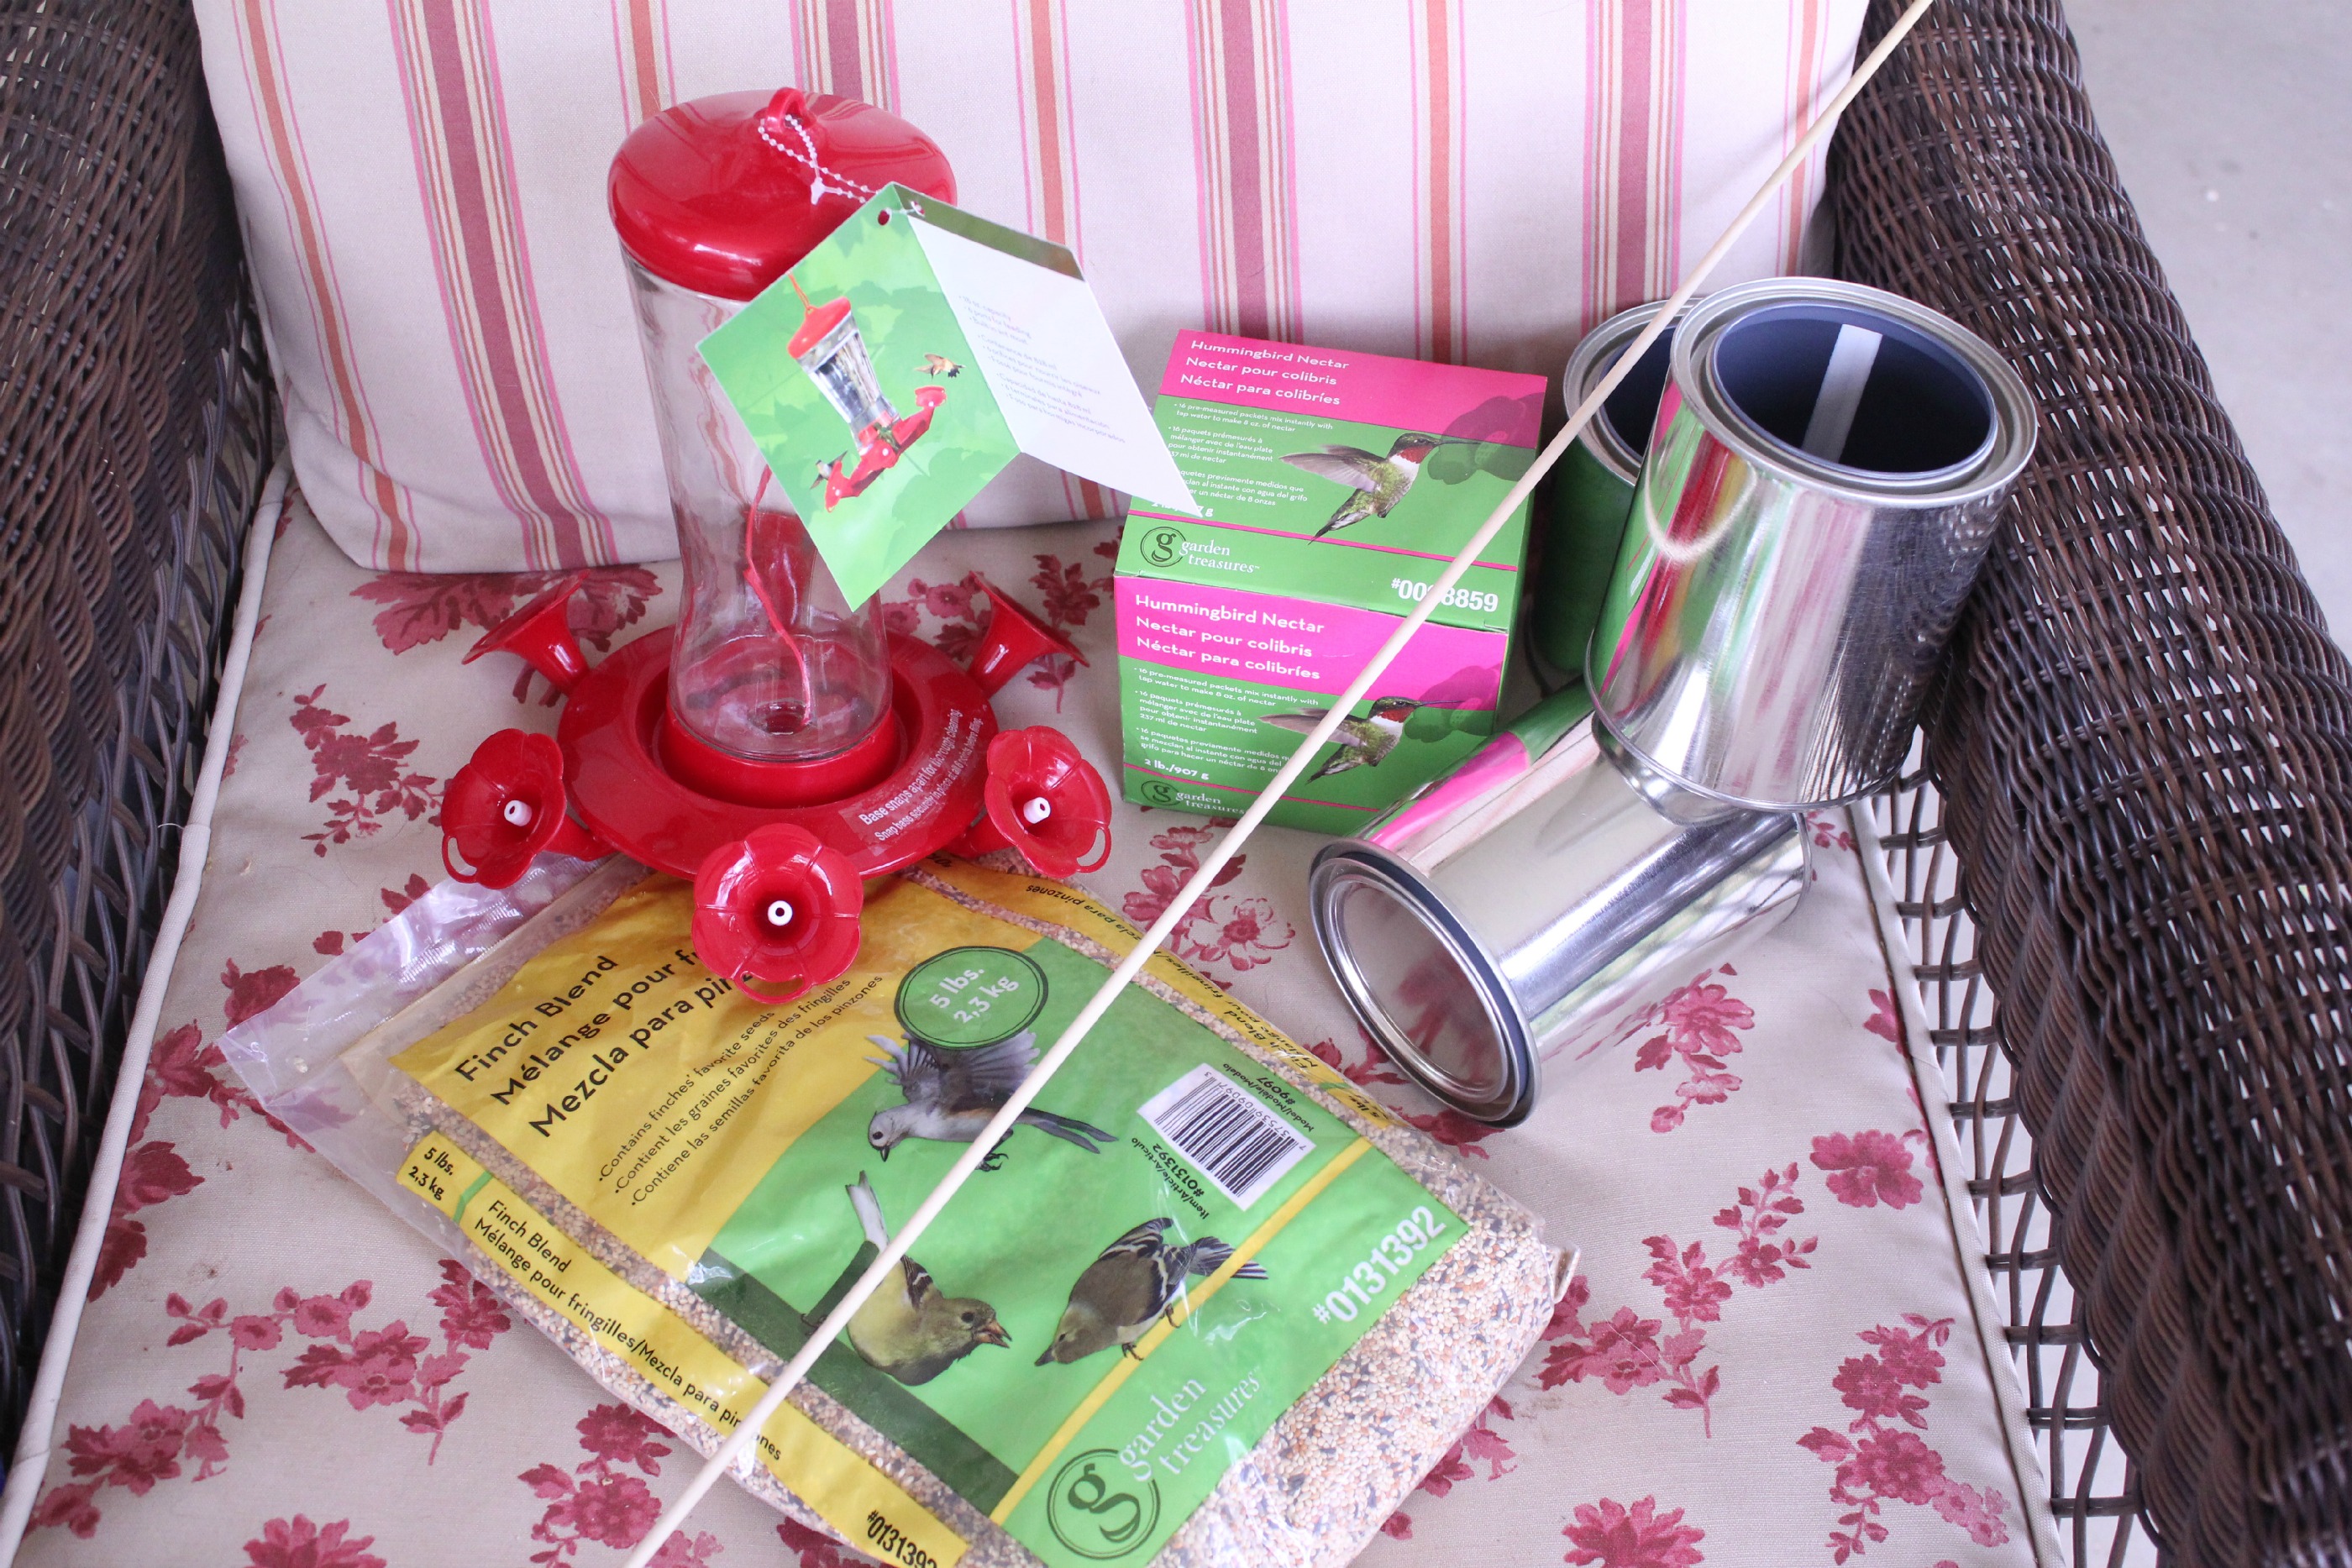 - 3 small paint cans, a 3/16″ wooden dowel, finch food, a Hummingbird feeder & Hummingbird food! Now, of course, the hummingbird stuff wasn’t part of our DIY project. But, since we were thinking of our little feathered friends, we had to get something for our beautiful desert hummingbirds–like this guy:
 Hopefully they’ll come around even more often now that we have a new feeder filled with that super sugary red liquid!
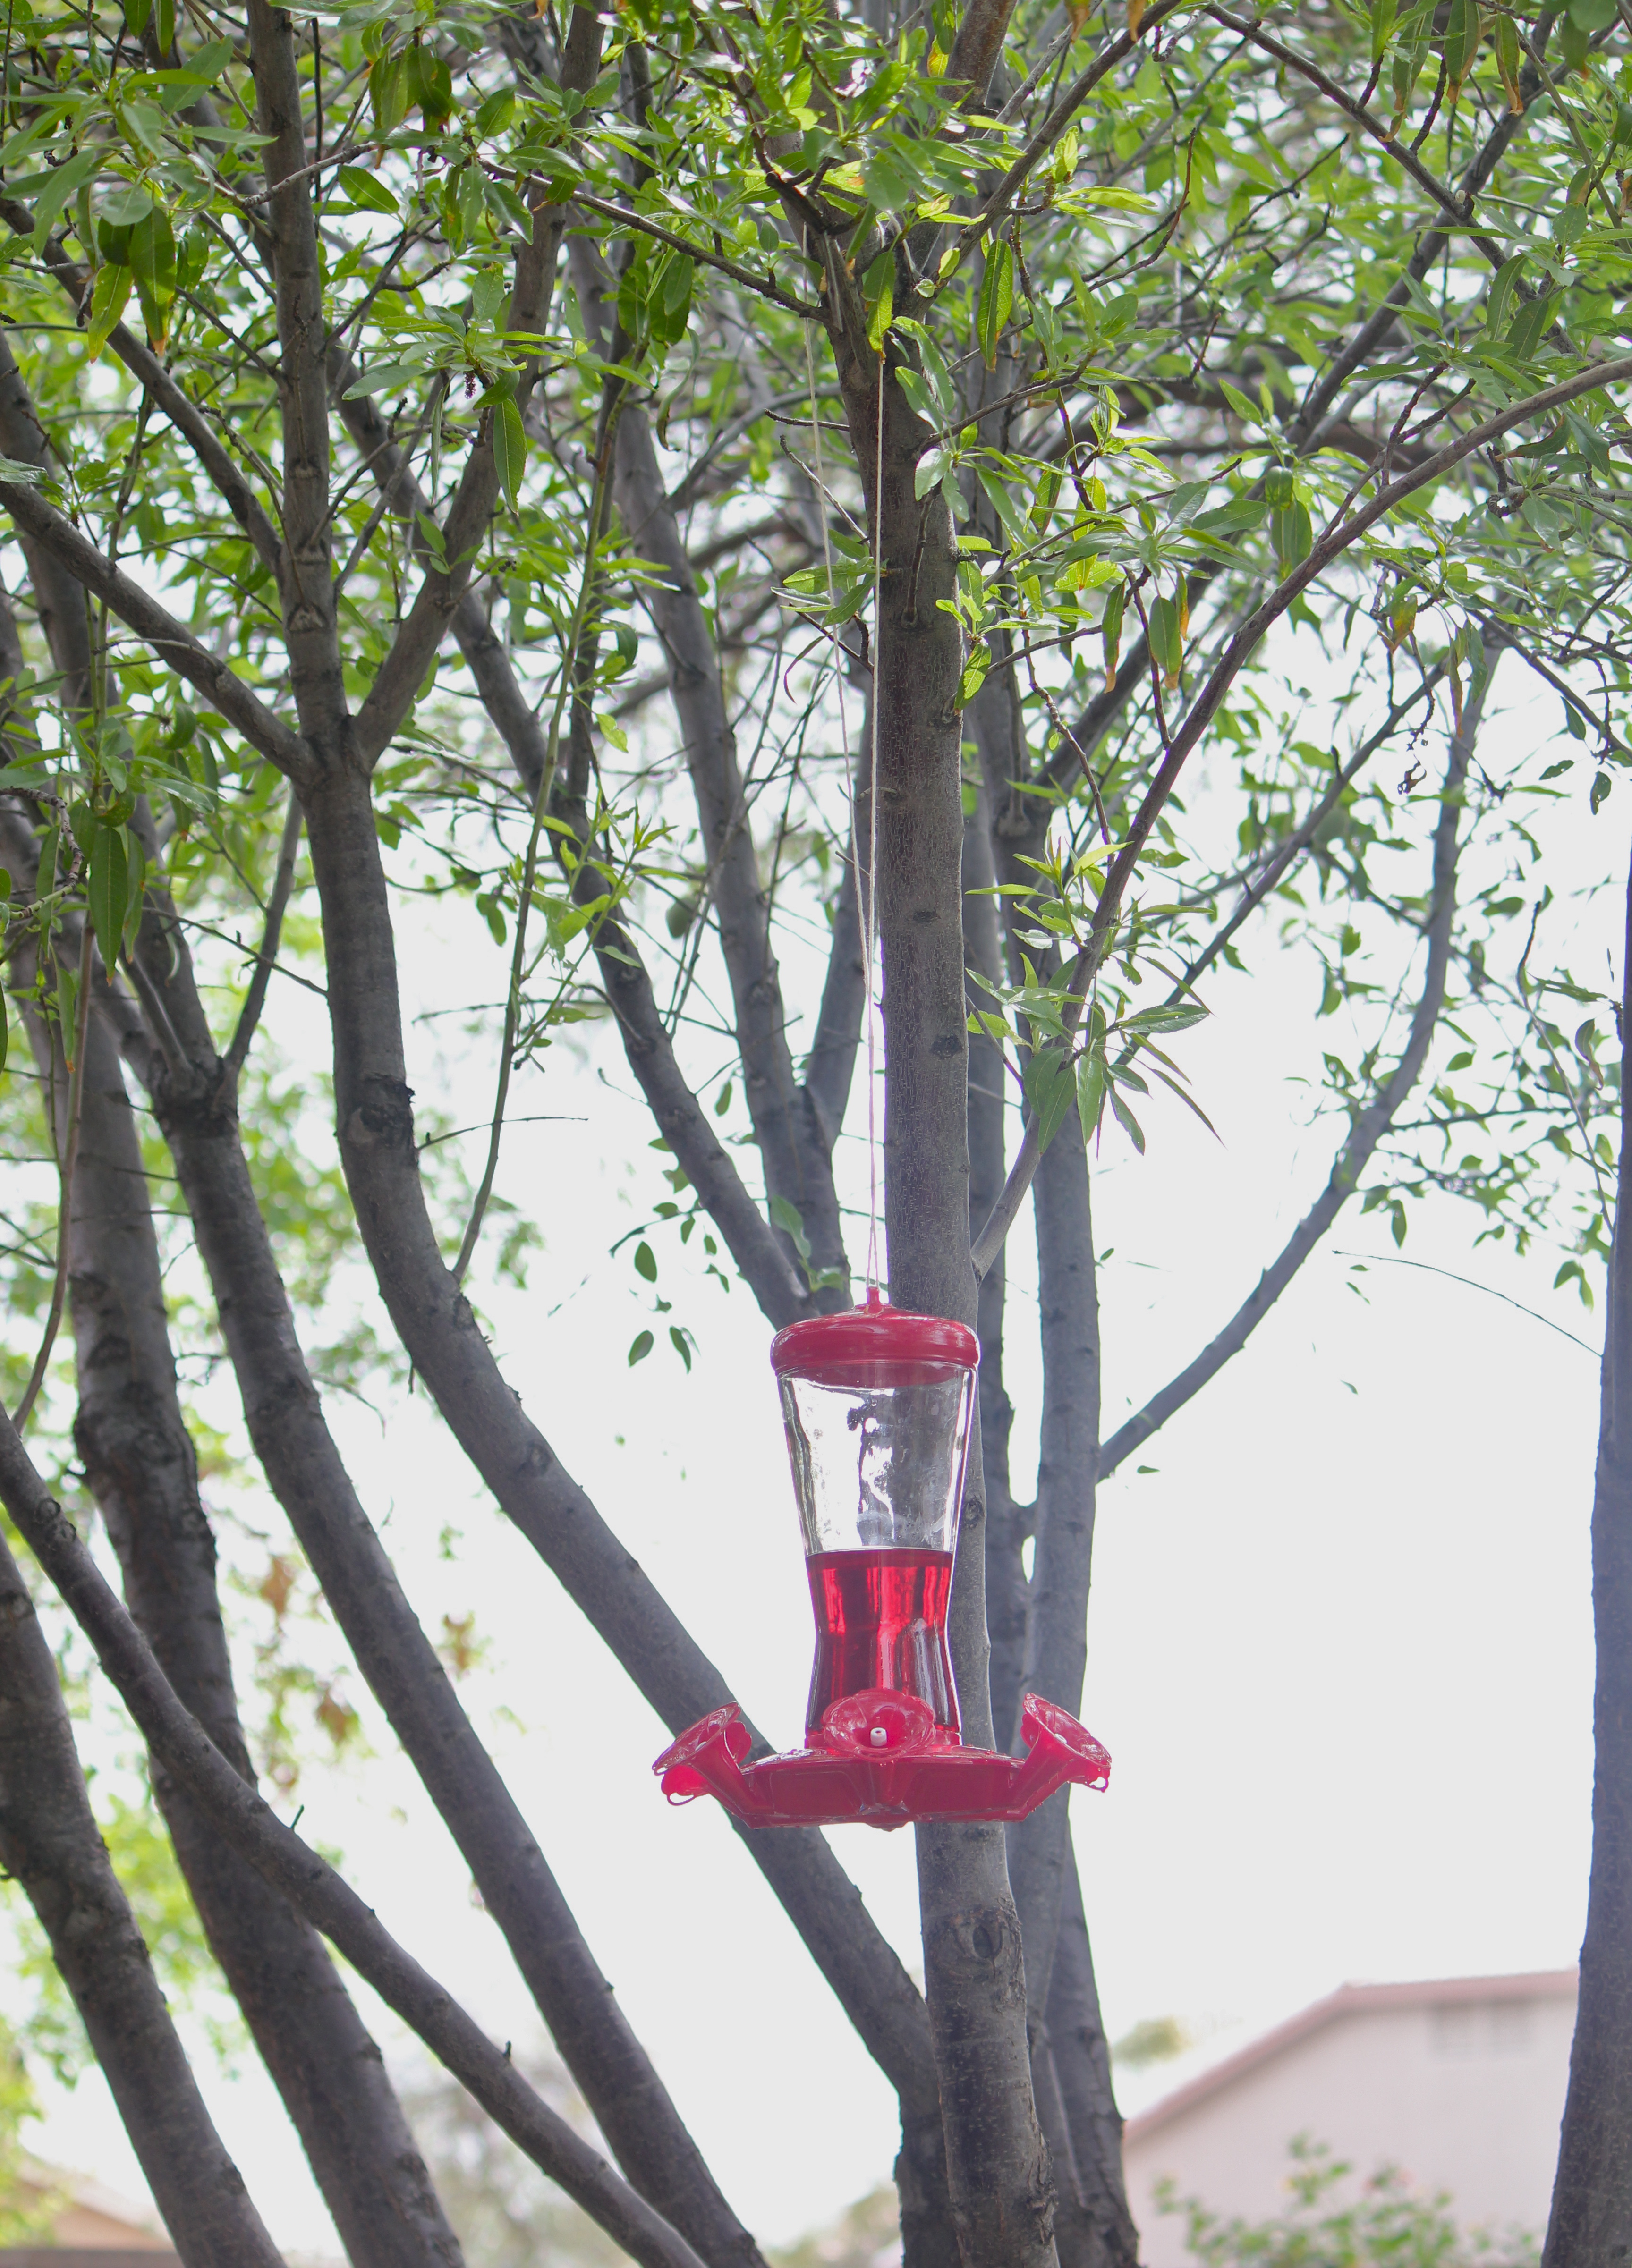
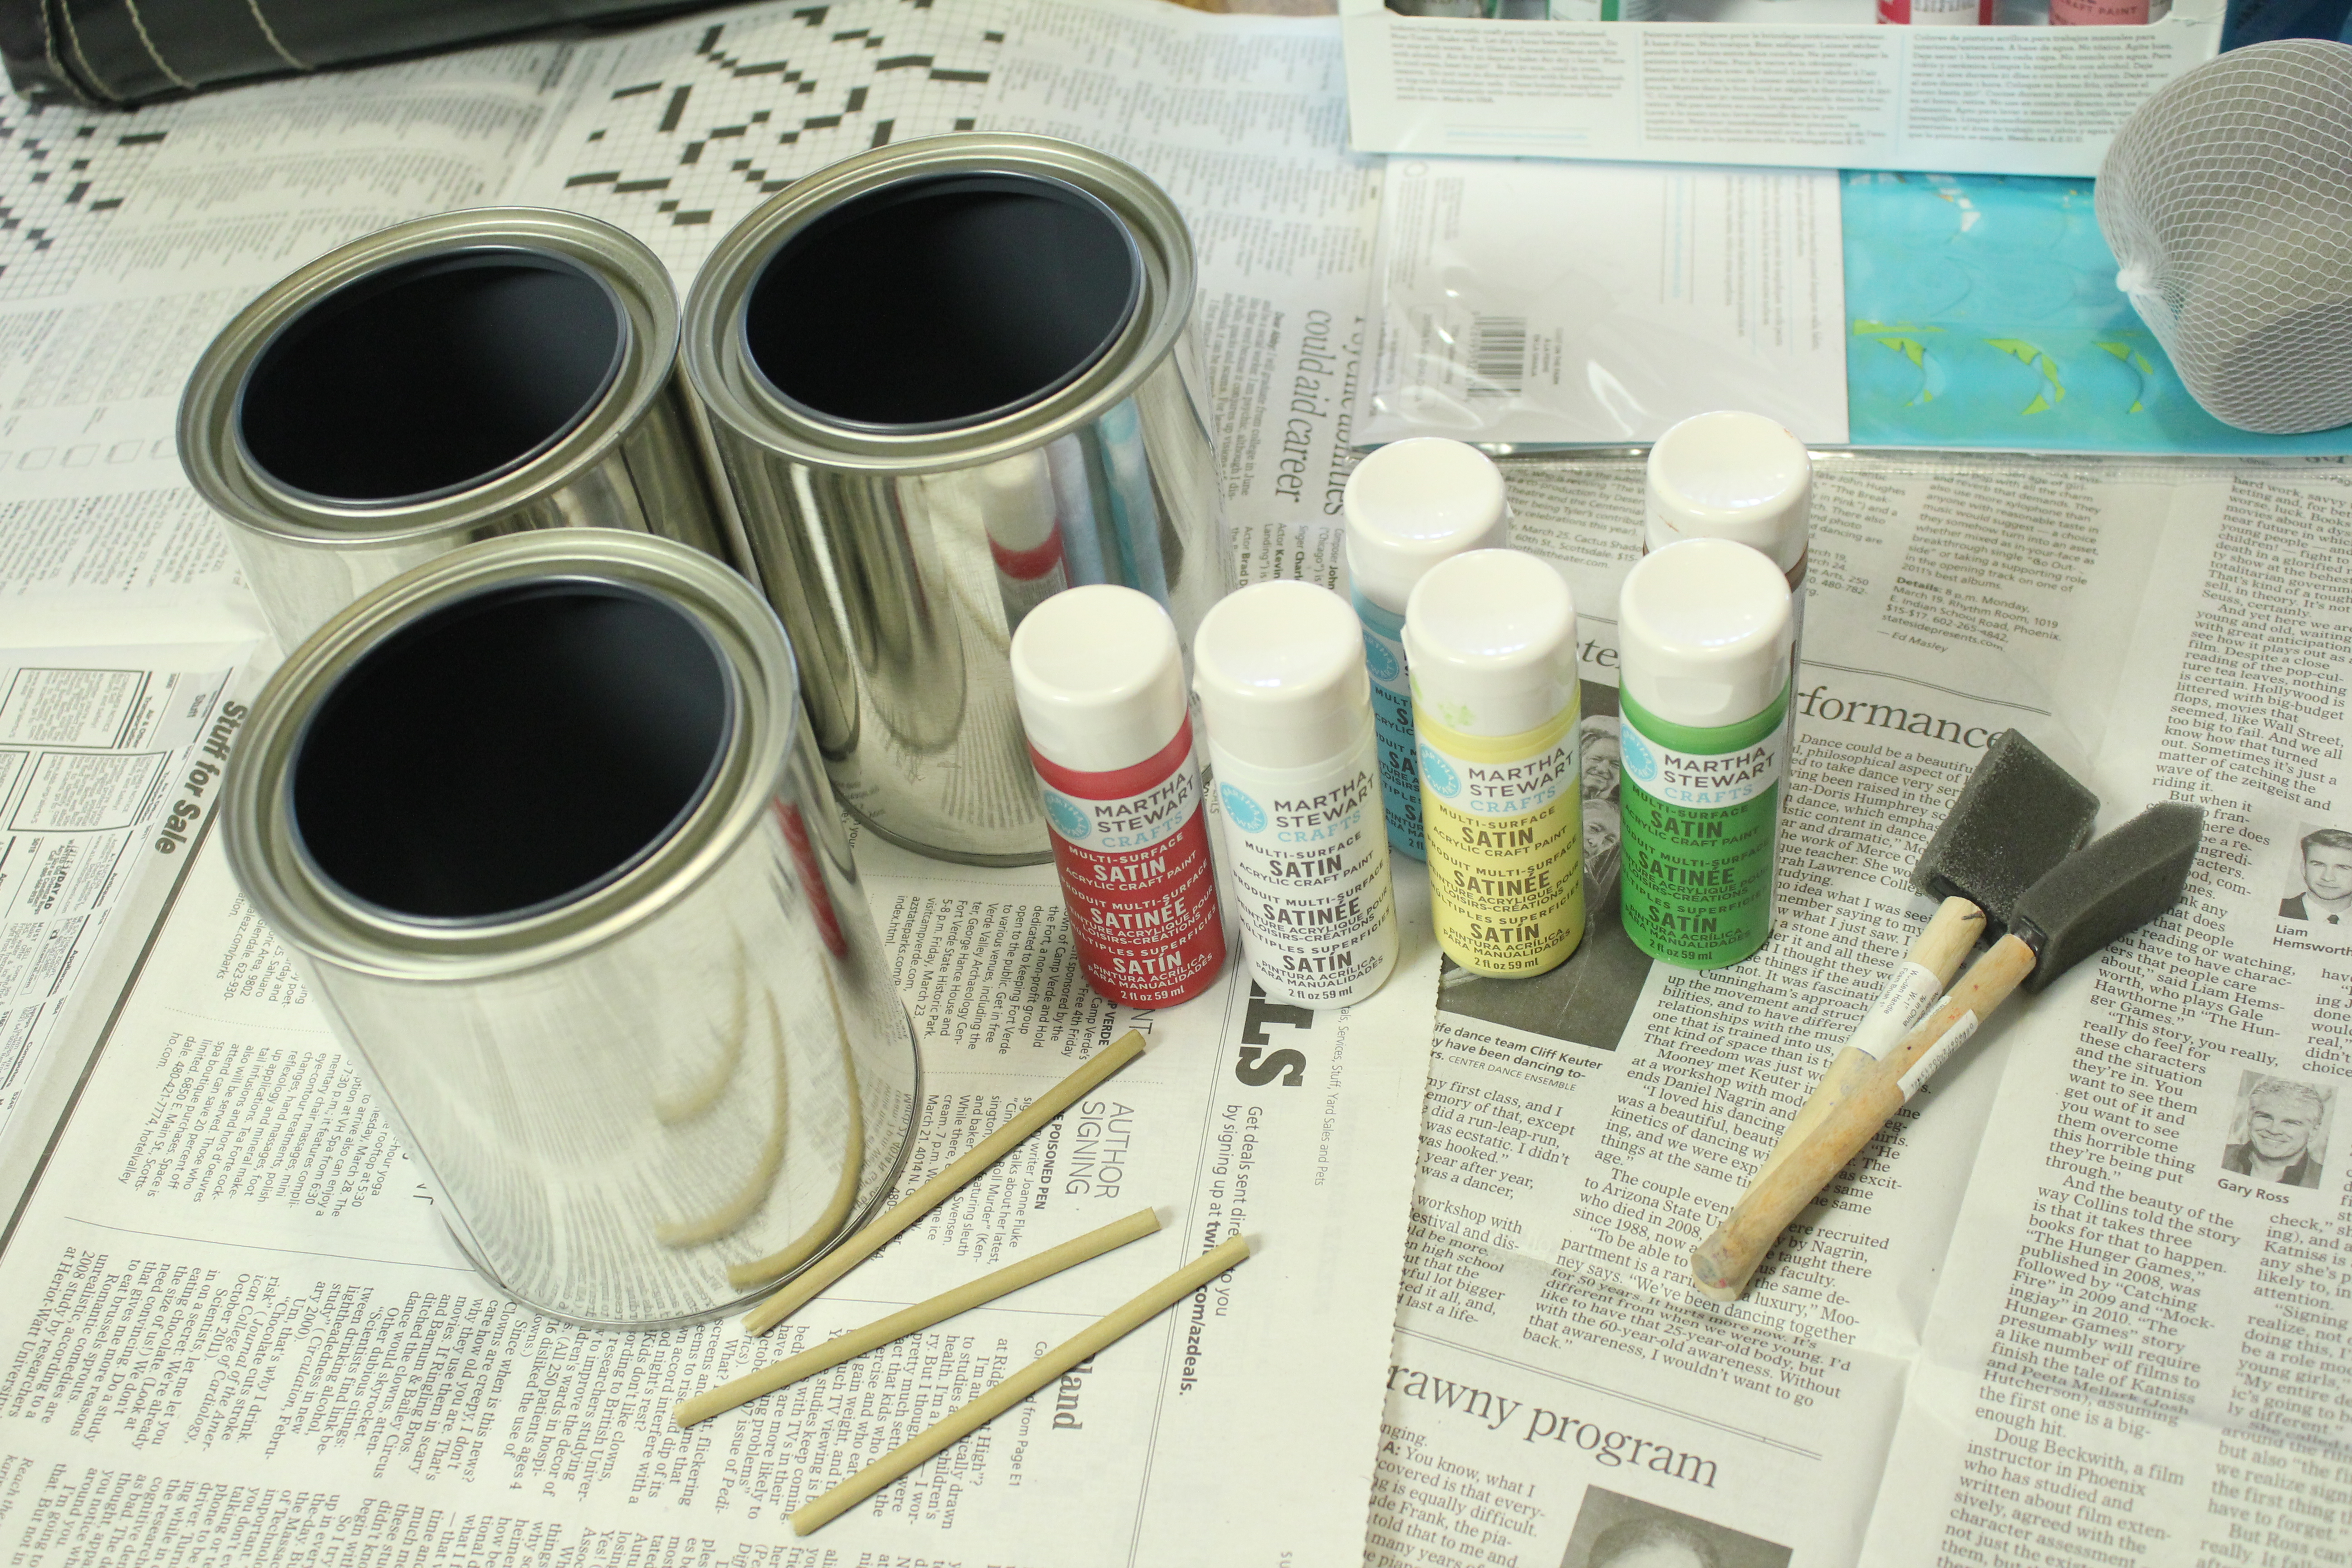
 Once those had a good while to dry, put a little bead of hot glue on the inside grove of the top of each paint can (where the lid would snap into) and stick a dowel piece in. Then, you will need something to hang them.
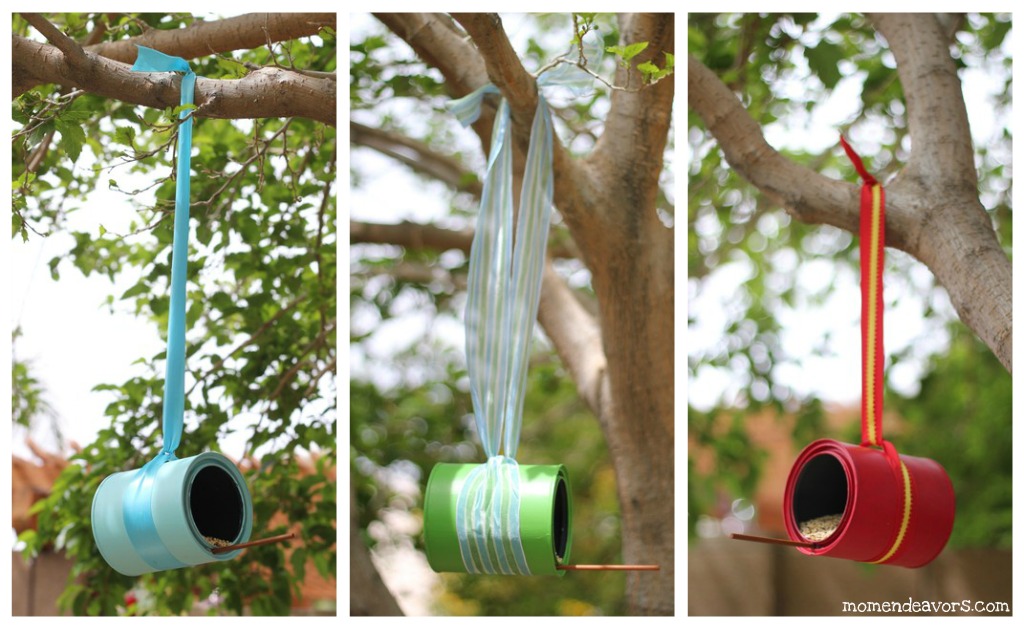 Quick & easy project and provides such a cute look out by the garden. And, here’s the best part…our fine feathered friends have already taken notice! Here’s what we saw when we came downstairs this morning:
 Build it and they will come!”
 "
"


